Rocket.Chat vs. Mattermost - What’s the Best Self-Hosted Slack Alternative?
If you're ready to break free from Slack's subscription shackles and self-host your team's chat instead, you'll love this blog post.
Publish date: 2/20/2024

If you're ready to break free from Slack's subscription shackles and self-host your team's chat instead, you'll love this blog post.
Publish date: 2/20/2024

Keeping in communication with your team isn't just important; it's essential.
It doesn't matter if you're a small business or a billion-plus dollar enterprise. You need a streamlined way to communicate with your team. And for quite a while, Slack, a restrictive and expensive SaaS solution has been the only answer for that.
Of course... that was until Rocket.Chat and Mattermost came along and changed the game.
Both are free, open-source, and self-hosted team communication options that make an excellent alternative to Slack.
That said, our goal in this article in this article is to compare the two and help you make an informed decision on which self-hosted team communication application is right for you.
Let's get started. First up:
Rocket.Chat is a secure team communication platform on steroids:

It looks nearly identical to slack and has video calls, threaded discussions, whiteboard brainstorming, integrations galore, and even live chat for your website. You name it--Rocket.Chat has it and more.
Plus, quite a bit of customization options. Letting you brand it, theme it, and bend it to your will.
Overall, Rocket.Chat works rather well and covers all of the bases that Slack does.
But be warned: Rocket.Chat comes with a bit of a learning curve, and the interface might not be as intuitive as your coffee maker.
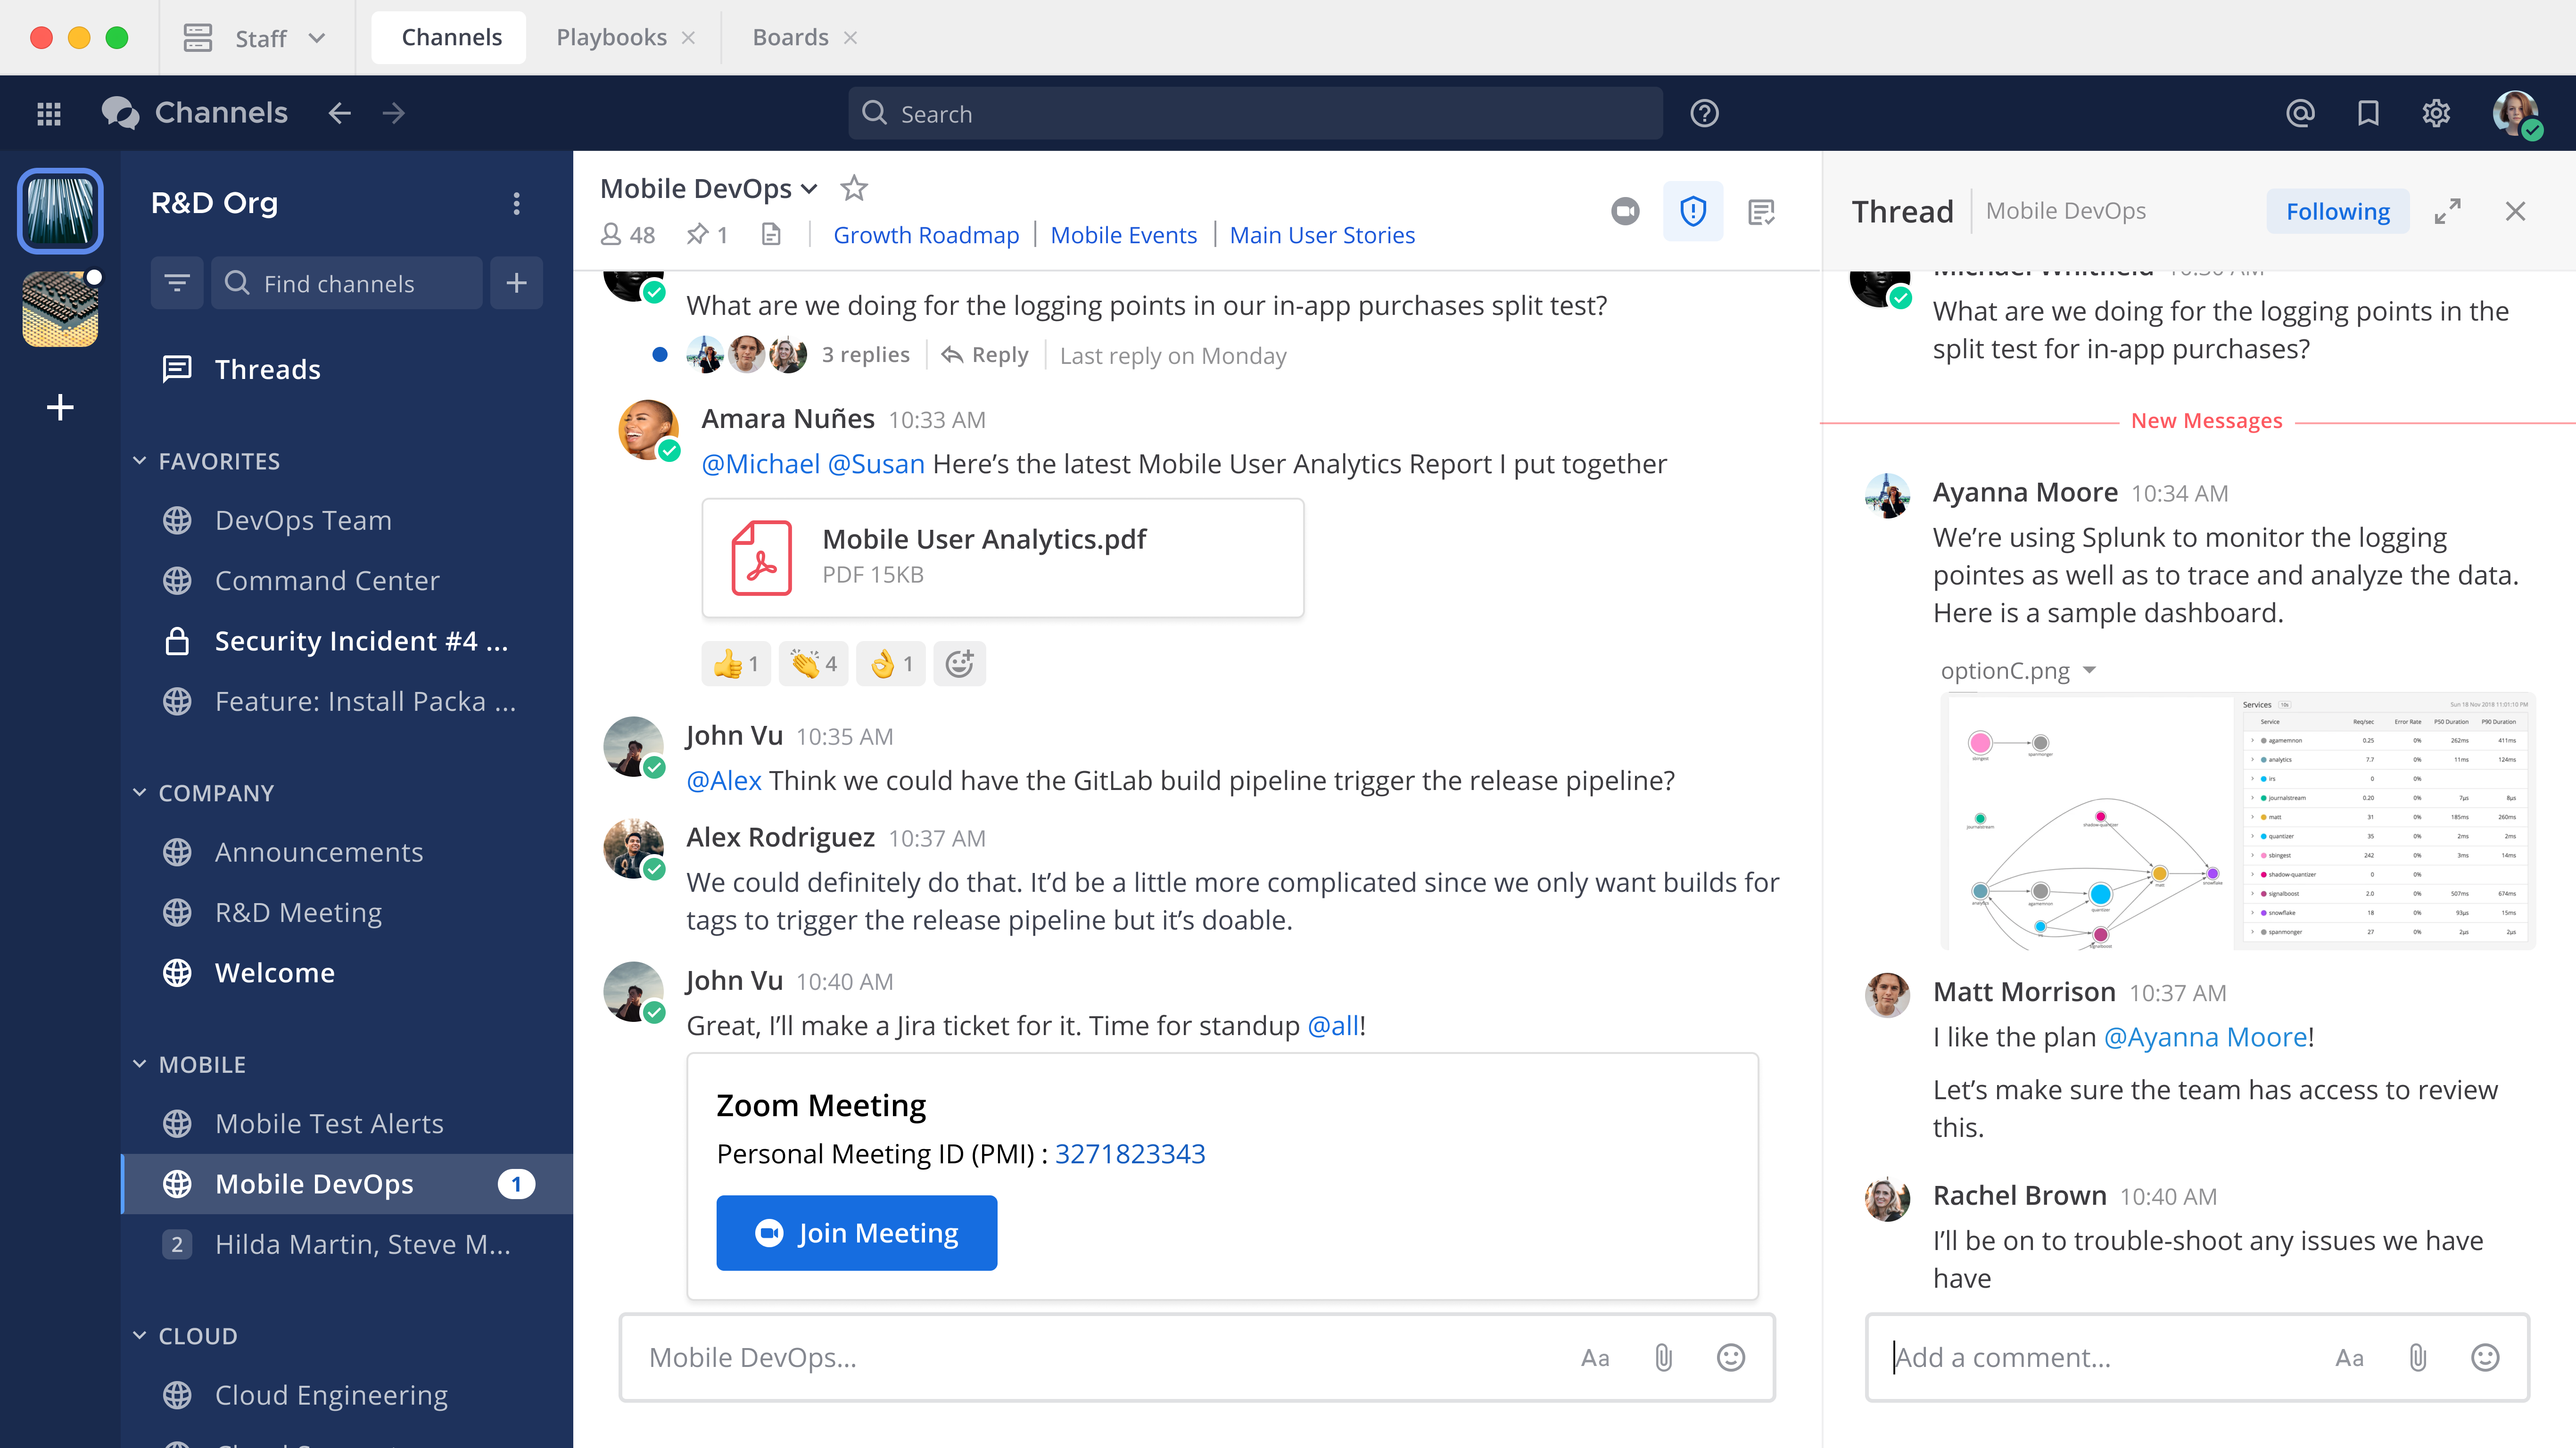
Think streamlined efficiency with Mattermost:

Again, Mattermost's interface is a familiar friend, reminiscent of Slack; making it a breeze to use.
Mattermost runs like a dream on even the most modest of servers, too. It's quite resource-friendly, making it ideal for smaller teams or those with budget constraints.
Additionally, security is a top priority, with end-to-end encryption and granular permission controls keeping your conversations safe.
Plus, the community is growing fast--generally, integrations are readily available.
Overall, compared to Rocket.Chat's smorgasbord, Mattermost's feature list are much more limited. For advanced functionalities like video calls, you'll need to reach for plugins. Branding and customization options are also a bit limited.
For some, though, the simplicity may be why they prefer Mattermost.
It's a tie! Okay, not really...
The winner depends on your team's unique needs and preferences.
Feature fiends and omnichannel enthusiasts: Rocket.Chat is your jam.
Simplicity seekers and resource-conscious teams: Mattermost has your back.
Security sticklers: Both platforms are solid.
Customization kings and queens: Rocket.Chat reigns supreme.
| Feature | Rocket.Chat | Mattermost |
|---|---|---|
| Installation | Docker Compose | Docker Compose |
| Interface | More complex, Slack-like | Simpler, Slack-like |
| Resource usage | Higher | Lower |
| Security | Strong, includes end-to-end encryption | Strong, includes end-to-end encryption |
| Features | Extensive out-of-the-box, including video calls and omnichannel communication | Requires plugins for advanced features |
| Customization | Highly customizable | Limited customization options |
| Mobile app | Feature-rich, but some limitations compared to he web interface | Feature-rich, but some limitations compared to the web interface |
Now, how about I show you how to set up either yourself?
The first step is to source a Linux server to host your team application on.
You could opt for a server stuffed in the closet, but many businesses want to opt for guaranteed reliability for something like a team communication application.
That said, xTom is a decade-plus infrastructure as a service provider. Of course, we're biased; but we'd recommend us.
Our VPS line here is a great budget (but reliable) option for hosting an application like Rocket.Chat or Mattermost. Our cheaper VPS plans start for less than a cup of coffee.
Both Rocket.Chat and Mattermost support Docker, which allows us to containerize our entire application. This makes installation and management much easier for us.
Generally, Docker is used for development, but we can use what's called Docker Compose for a persistent, and production-ready environment.
Anyway, once you've secured your Linux server, the first thing we need to do is add the Docker repository to our sources.
By the way, the following examples are specifically suited for Debian 12, but will work with minor tweaks on any distribution:
# Add Docker's official GPG key:
sudo apt update
sudo apt install curl gnupg dpkg apt-transport-https lsb-release ca-certificates
sudo curl -sS https://download.docker.com/linux/debian/gpg | sudo gpg --dearmor > /usr/share/keyrings/docker-ce.gpg

# Add the repository to Apt sources:
echo \
  "deb [arch=$(dpkg --print-architecture) signed-by=/usr/share/keyrings/docker-ce.gpg] https://download.docker.com/linux/debian $(lsb_release -sc) stable" | \
  sudo tee /etc/apt/sources.list.d/docker.list > /dev/null
sudo apt update
(Note: sudo is used to elevate privileges, if you're on the root user, you don't need to use it.)
Next, we'll install Docker and Docker Compose:
sudo apt install docker-ce docker-ce-cli containerd.io docker-compose-plugin
After that, you'll need to create a new directory for your team communication application.
For the following example, we'll choose Rocket.Chat as our application:
mkdir rocket
cd rocket
Now we'll need to create a Docker Compose configuration file:
nano compose.yml
For Rocket.Chat, copy, and paste the following:
volumes:
  mongodb_data: { driver: local }

services:
  rocketchat:
    image: registry.rocket.chat/rocketchat/rocket.chat:${RELEASE:-latest}
    restart: always
    labels:
      traefik.enable: "true"
      traefik.http.routers.rocketchat.rule: Host(`${DOMAIN:-}`)
      traefik.http.routers.rocketchat.tls: "true"
      traefik.http.routers.rocketchat.entrypoints: https
      traefik.http.routers.rocketchat.tls.certresolver: le
    environment:
      MONGO_URL: "${MONGO_URL:-\
        mongodb://${MONGODB_ADVERTISED_HOSTNAME:-mongodb}:${MONGODB_INITIAL_PRIMARY_PORT_NUMBER:-27017}/\
        ${MONGODB_DATABASE:-rocketchat}?replicaSet=${MONGODB_REPLICA_SET_NAME:-rs0}}"
      MONGO_OPLOG_URL: "${MONGO_OPLOG_URL:\
        -mongodb://${MONGODB_ADVERTISED_HOSTNAME:-mongodb}:${MONGODB_INITIAL_PRIMARY_PORT_NUMBER:-27017}/\
        local?replicaSet=${MONGODB_REPLICA_SET_NAME:-rs0}}"
      ROOT_URL: ${ROOT_URL:-http://localhost:${HOST_PORT:-3000}}
      PORT: ${PORT:-3000}
      DEPLOY_METHOD: docker
      DEPLOY_PLATFORM: ${DEPLOY_PLATFORM:-}
      REG_TOKEN: ${REG_TOKEN:-}
    depends_on:
      - mongodb
    expose:
      - ${PORT:-3000}
    ports:
      - "${BIND_IP:-0.0.0.0}:${HOST_PORT:-3000}:${PORT:-3000}"

  mongodb:
    image: docker.io/bitnami/mongodb:${MONGODB_VERSION:-5.0}
    restart: always
    volumes:
      - mongodb_data:/bitnami/mongodb
    environment:
      MONGODB_REPLICA_SET_MODE: primary
      MONGODB_REPLICA_SET_NAME: ${MONGODB_REPLICA_SET_NAME:-rs0}
      MONGODB_PORT_NUMBER: ${MONGODB_PORT_NUMBER:-27017}
      MONGODB_INITIAL_PRIMARY_HOST: ${MONGODB_INITIAL_PRIMARY_HOST:-mongodb}
      MONGODB_INITIAL_PRIMARY_PORT_NUMBER: ${MONGODB_INITIAL_PRIMARY_PORT_NUMBER:-27017}
      MONGODB_ADVERTISED_HOSTNAME: ${MONGODB_ADVERTISED_HOSTNAME:-mongodb}
      MONGODB_ENABLE_JOURNAL: ${MONGODB_ENABLE_JOURNAL:-true}
      ALLOW_EMPTY_PASSWORD: ${ALLOW_EMPTY_PASSWORD:-yes}
(Note: In the case of Mattermost, you can take a look at their official GitHub repository for Docker deployments. It only slightly differs.)
Then, create a .env file with this command and paste the contents of the example file:
nano .env
Remember to change DOMAIN to your domain name and Edit ROOT_URL from the default http://localhost:3000 to match your domain name or IP address..
Finally, save and exit, and then type:
docker compose up
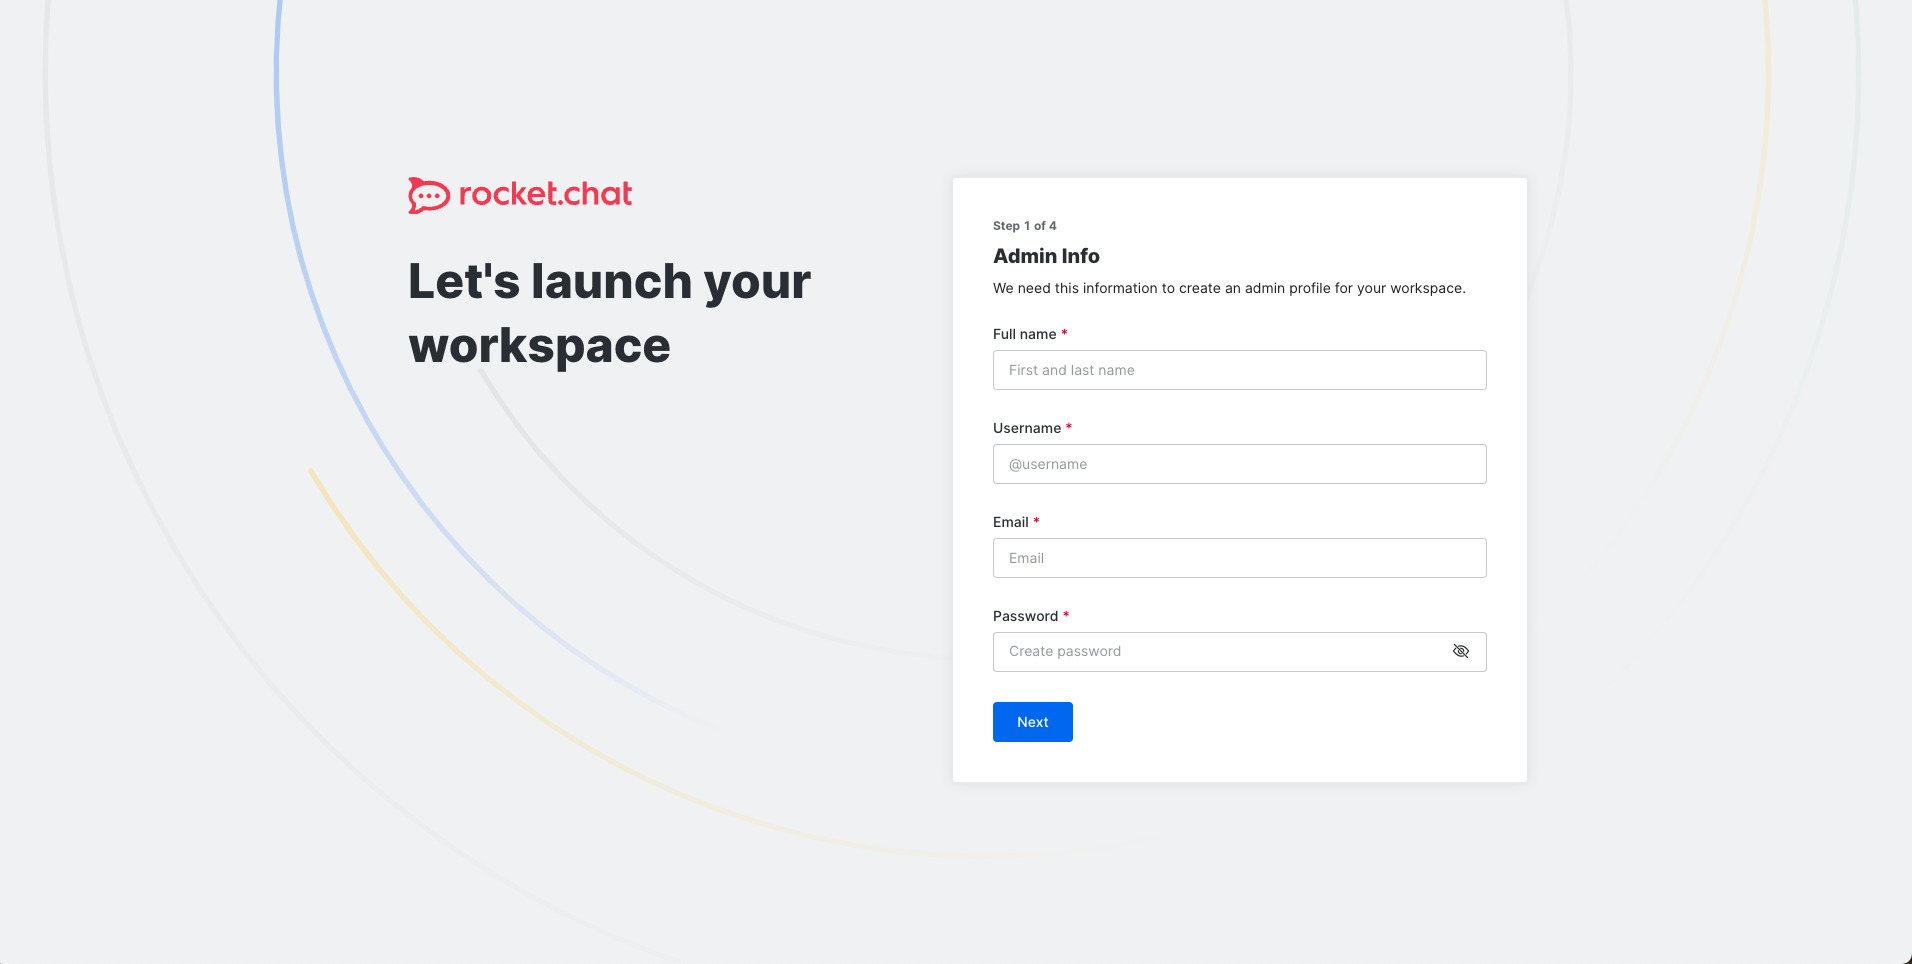
Success! That'll proceed to install everything you need, and then you'll finish the installation at http://yourip:3000:

Not too hard, huh?
(Note: To keep your Docker Compose container running 24/7, use docker compose up -d for detached mode.)
If you need to install Mattermost, the process is nearly identical. Just change docker-compose.yml to the Mattermost configuration and you're good to go:
version: "2.4"

services:
  postgres:
    image: postgres:${POSTGRES_IMAGE_TAG}
    restart: ${RESTART_POLICY}
    security_opt:
      - no-new-privileges:true
    pids_limit: 100
    read_only: true
    tmpfs:
      - /tmp
      - /var/run/postgresql
    volumes:
      - ${POSTGRES_DATA_PATH}:/var/lib/postgresql/data
    environment:
      # timezone inside container
      - TZ

      # necessary Postgres options/variables
      - POSTGRES_USER
      - POSTGRES_PASSWORD
      - POSTGRES_DB

  mattermost:
    depends_on:
      - postgres
    image: mattermost/${MATTERMOST_IMAGE}:${MATTERMOST_IMAGE_TAG}
    restart: ${RESTART_POLICY}
    security_opt:
      - no-new-privileges:true
    ports:
      - ${APP_PORT}:8065
      - ${CALLS_PORT}:${CALLS_PORT}/udp
      - ${CALLS_PORT}:${CALLS_PORT}/tcp
    pids_limit: 200
    read_only: ${MATTERMOST_CONTAINER_READONLY}
    tmpfs:
      - /tmp
    volumes:
      - ${MATTERMOST_CONFIG_PATH}:/mattermost/config:rw
      - ${MATTERMOST_DATA_PATH}:/mattermost/data:rw
      - ${MATTERMOST_LOGS_PATH}:/mattermost/logs:rw
      - ${MATTERMOST_PLUGINS_PATH}:/mattermost/plugins:rw
      - ${MATTERMOST_CLIENT_PLUGINS_PATH}:/mattermost/client/plugins:rw
      - ${MATTERMOST_BLEVE_INDEXES_PATH}:/mattermost/bleve-indexes:rw
      # When you want to use SSO with GitLab, you have to add the cert pki chain of GitLab inside Alpine
      # to avoid Token request failed: certificate signed by unknown authority
      # (link: https://github.com/mattermost/mattermost-server/issues/13059 and https://github.com/mattermost/docker/issues/34)
      # - ${GITLAB_PKI_CHAIN_PATH}:/etc/ssl/certs/pki_chain.pem:ro
    environment:
      # timezone inside container
      - TZ

      # necessary Mattermost options/variables (see env.example)
      - MM_SQLSETTINGS_DRIVERNAME
      - MM_SQLSETTINGS_DATASOURCE

      # necessary for bleve
      - MM_BLEVESETTINGS_INDEXDIR

      # additional settings
      - MM_SERVICESETTINGS_SITEURL
Create the necessary directories and set permissions:
mkdir -p ./volumes/app/mattermost/{config,data,logs,plugins,client/plugins,bleve-indexes}
sudo chown -R 2000:2000 ./volumes/app/mattermost
And then create a .env file with the contents of the example file:
sudo nano .env
(You must edit the DOMAIN value in the .env file to correspond to the domain for your Mattermost server.)
Finally, save and exit, and then type:
docker compose up
Success! That'll proceed to install everything you need, and then you'll finish the installation at http://yourip:8065:
Both Rocket.Chat and Mattermost make incredible alternatives to Slack. And they're free!
What more can you ask for?
I suggest giving both a spin and seeing which one works best with you and your team.
Thanks for reading, and as always, please consider choosing xTom for your digital infrastructure needs!
You can learn more about the services we offer here, or grab a reliable yet budget VPS for self-hosting Rocket.Chat or Mattermost here.