What Is Mailcow? (And How to Host Your Own Email Server with It)
Mailcow is an open-source email server suite built on Docker that simplifies email hosting for individuals and businesses. In this article, you’ll learn what makes Mailcow unique and how to self-host it.
Have you ever thought about hosting your own email instead of relying on a third-party service? Maybe you’re concerned about data privacy, or perhaps you want more control over your setup. Self-hosting can be an appealing option, and tools like Mailcow make it easier than you might expect.
In this article, we’ll explore what Mailcow is, why self-hosting your email can be beneficial, and how you can get started. By the end, you’ll have a clear roadmap for setting up a reliable, secure email server all on your own. Let's dive in.
Understanding Mailcow
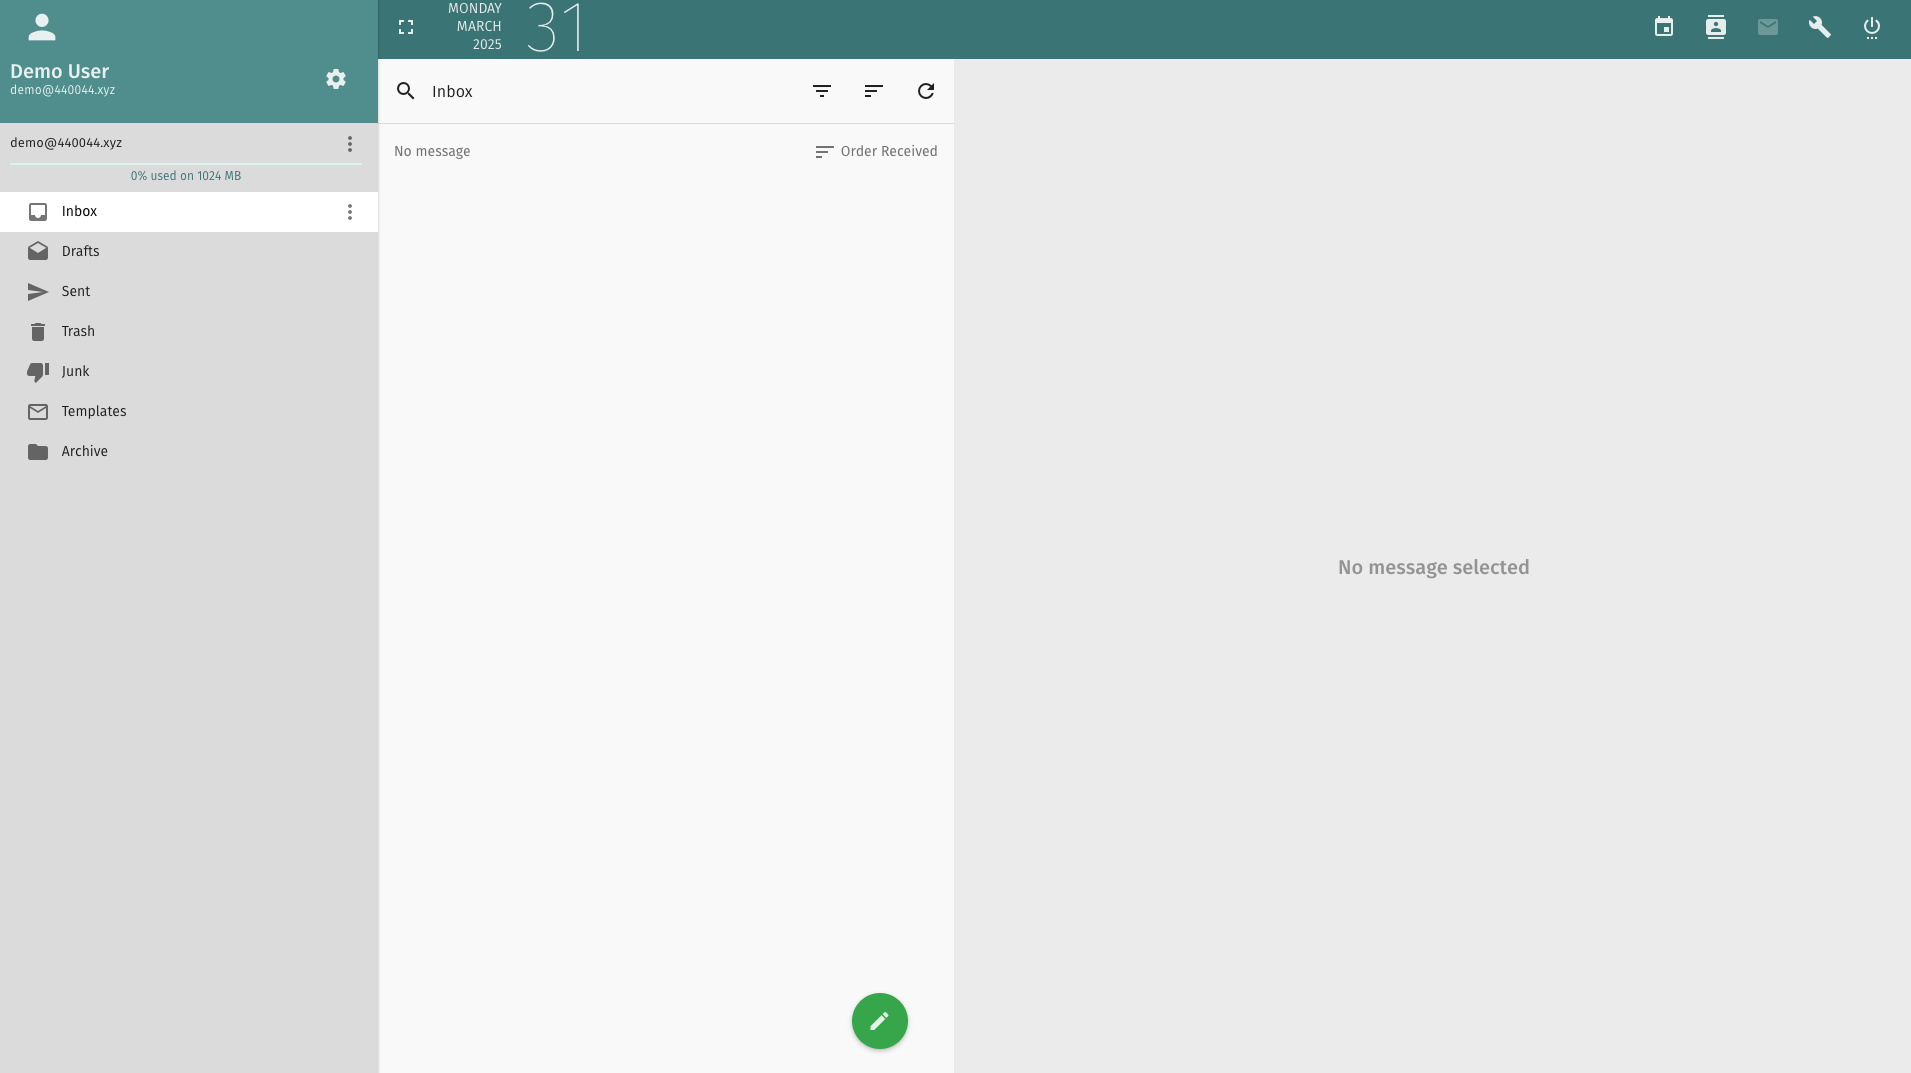
Mailcow is an open-source, Docker-based email server solution designed to be user-friendly yet powerful under the hood. It bundles well-known components such as Postfix, Dovecot, SpamAssassin, and more, wrapping them in a modern web interface that simplifies administration.
One of Mailcow’s main draws is its intuitive dashboard. Instead of dealing with multiple configuration files, you can manage accounts, domains, spam settings, and other features through a single interface. This makes Mailcow accessible to both seasoned sysadmins and beginners looking to host their own email.
Why consider self-hosting your email?
Self-hosting might sound daunting, but there are several reasons why it could be the right choice:
Privacy control: When you run your own server, you maintain full control of your data.
Customizable settings: You decide on spam filters, authentication methods, and user policies.
Learning experience: Hosting email can be a great project that expands your server knowledge.
That said, self-hosting does require you to manage software updates, security patches, and backups. However, if you’re comfortable with basic server administration, it can be a rewarding and cost-effective way to handle email for your personal or business domain.
Setting up Mailcow
One convenient way to get started is by using xTom’s V.PS service. These NVMe-powered KVM VPSes offer scalable resources and solid performance, making them a great option for running Mailcow. But you can use any hosting provider, just make sure they allow emailing (which we do, once approved).
That said, here's how you can setup Mailcow:
Choose your VPS plan and domain
First things first, you need to grab a VPS. Our Pro plan will work well. We recommend Debian 12 for your Linux distribution, but anything that supports Docker should be fine. You’ll also need a custom domain for your email addresses.
Enable port 25 and configure DNS
Email servers rely on port 25 for outgoing mail. On xTom’s V.PS, you’ll need to open a support ticket to request port 25 access, which is pretty standard. Just open a ticket stating your use case with a little bit of information, and you should be good to go.
This is to help avoid spam on our network, which in return, will help your email deliverability. While you’re at it, set up your DNS records (MX, A, and SPF) for your domain to ensure proper email routing and verification.
Install Docker, Docker Compose, and Git
Mailcow runs via Docker containers. On your fresh VPS, install Docker and Docker Compose by following the official instructions or your OS-specific package repositories. For Debian 12, we have step-by-step instructions right here.
You'll also need Git, which can be installed on Debian or Ubuntu with the following command:
aptinstallgit
Download Mailcow
Clone the official Mailcow repository from GitHub and copy the example configuration. Within this file, you’ll specify domains, ports, SSL settings, and more.
For example:
$ suumask0022 # <- Verify it is 0022 cd /opt
git clone https://github.com/mailcow/mailcow-dockerized
cd mailcow-dockerized
Run the Mailcow setup
Once inside mailcow-dockerized, run:
./generate_config.sh
It'll ask a couple of things, including for a hostname, and then you'll just need to run:
docker compose up -d
It'll download everything you need, and afterward, you can access the Mailcow web interface by navigating to your VPS’s IP address or domain name in your browser.
Secure and configure
From the Mailcow admin panel, configure spam protection, DKIM signing, SSL/TLS, and other essential settings. It’s a fairly straightforward process thanks to Mailcow’s integrated interface.
Mailcow simplifies the complex process of running your own mail server, offering a user-friendly interface that integrates popular email components. With a little bit of time, you can set up a private emailing server that works perfectly.
If you’re looking for reliable hosting infrastructure, xTom provides a range of services, including dedicated servers, colocation, IP transit, and more. For flexible and scalable virtual private servers, take a look at V.PS.
Thanks for reading and here's to self-hosted email! :-)
Frequently asked questions about Mailcow
Do I need a dedicated domain for Mailcow?
Yes, you’ll need a domain so you can configure mail records like MX and SPF, which tell mail servers where to deliver messages for your domain.
Is Mailcow suitable for business use?
Absolutely. It supports multiple domains and mailboxes, making it a great fit for businesses of varying sizes. Just ensure your VPS or server resources match your email volume.
What about security and spam handling?
Mailcow integrates SpamAssassin, ClamAV, and Fail2ban for spam filtering and extra security. You can fine-tune these from the Mailcow admin panel.
Can I migrate existing email accounts to Mailcow?
Yes. You can migrate emails using IMAP sync tools or by importing mailbox data. Mailcow’s documentation includes detailed instructions on migration.
How do I ensure high availability for critical email?
Consider a secondary MX record or multiple servers for extra redundancy.