How To Install NoMachine on Linux for the Perfect Remote Desktop Experience (Even Better Than Windows RDP)
It's extremely nice to have a remote desktop for work, but not everyone wants to rely on the most common solution - Windows. It's an expensive resource hog. Here's a better alternative...
For the longest, Windows has reigned king of the remote desktop experience...
But the problem with Windows (well, there are multiple, actually) is that it's closed-source, resource-intensive, prone to vulnerabilities, and generally more expensive due to licensing.
It was looking pretty grim for a while with solutions like TeamViewer coming the closest to giving an almost acceptable cross-platform remote desktop experience.
That was until NoMachine, of course
NoMachine is a free remote control software, with paid commercial versions available. It uses a proprietary closed-source "NX protocol" to flawlessly provide a remote desktop experience that feels as close to local as you could possibly get.
It allows:
Remote desktop access
File sharing & printing
Multi-media support (flawless playback)
Guest desktop sharing
Browser or client-based access
Screen recording
Encrypted access
There's not much you could ask for that it won't support.
In terms of security, in comparison to Windows, you could also essentially secure this out of the box by requiring an SSH key in combination with WireGuard for authentication. You've already decreased your risk of your remote desktop being compromised by about 80% there alone. It does of course support a regular text-based password as well, though.
When it comes to compatibility, NoMachine supports Linux, Windows, macOS, Android, and iOS. It will genuinely give you the best cross-platform experience possible.
What's even better is that NoMachine uses little to no resources. You can run this on a pretty simple Linux setup. You don't need nearly anything as beefy as Windows would.
In fact, you could probably get this running on our cheapest VPS plan here, but I'd recommend the second package for some breathing room.
That gives you a fully functional, permanently available, and reliable remote desktop for less than €10 per month.
Let me show you how:
Setting up your own Linux remote desktop with NoMachine
First things first, you'll really want to grab yourself a cheap VPS with a dedicated IPv4 address, this ensures things just work and you won't have to spend much time configuring anything.
NoMachine will support several Linux distributions, but in my case, I used Ubuntu 22.04.
Step 1: Install NoMachine
Once you select and install your distribution of choice, SSH into your server and proceed to run (if you're logged in as root there's no need for sudo):
sudoapt update
Then run:
sudoapt upgrade
Now we'll need to install NoMachine, first you'll need to go here and locate the right package according to your distribution.
But first, it's very likely your distribution image didn't include a desktop environment, so we'll need to install one.
In my case, I like KDE, so you could install it with the following command:
sudoaptinstall kubuntu-desktop
Alternatively, just do some research and find the right Linux desktop environment for you. It's all customizable, that's kind of the biggest benefit of Linux.
Step 3: Configure your NoMachine client
After you have a desktop environment installed, you'll need to configure the respective client-side application you want to use to connect to your new remote NoMachine desktop.
Step 4: Connecting to your new Linux remote desktop
It's time for the magic moment...
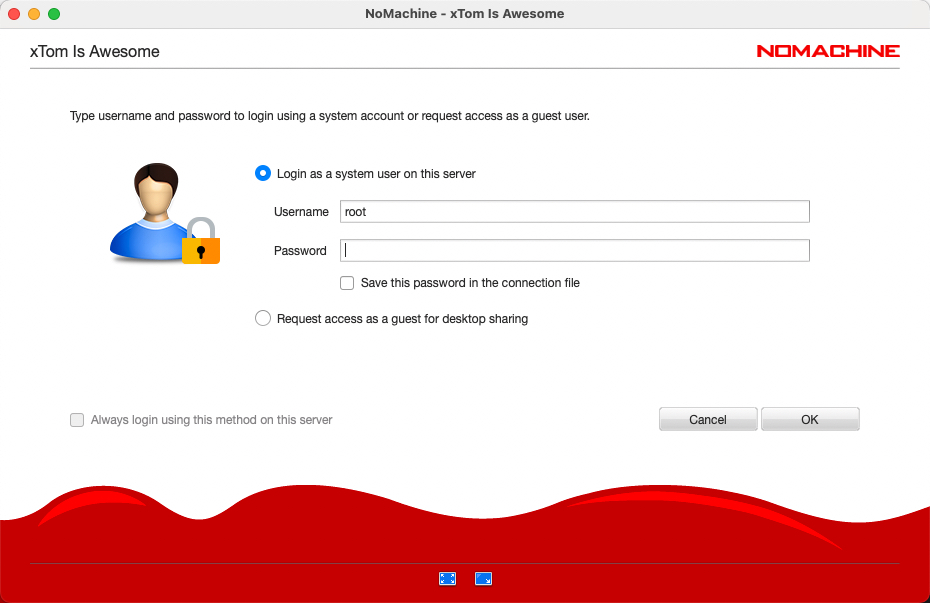
Using the same account information you used earlier to SSH into your server, we can connect to our new Linux NoMachine remote desktop.
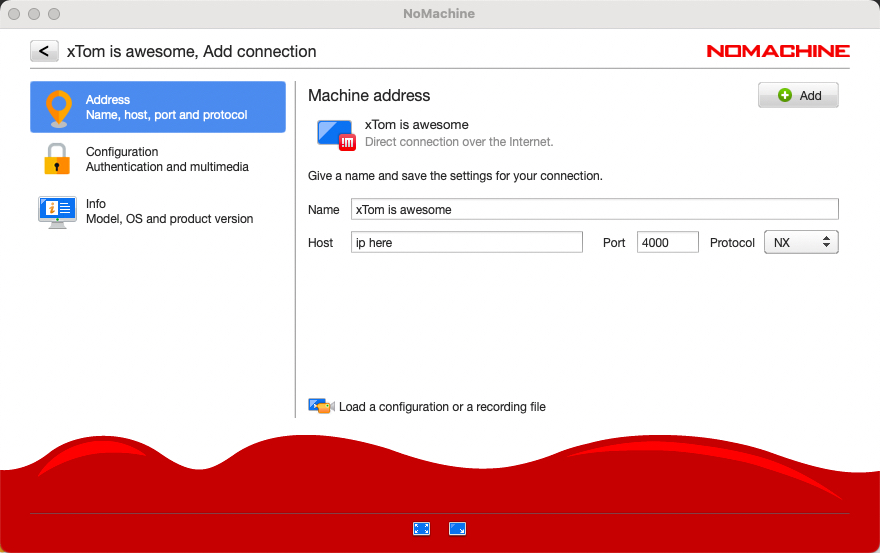
Go ahead and open up the client-side NoMachine application and click "add" -- you'll see a page that looks identical to this:
Fill out your respective name, and insert your IP address. Click "add" again to save it.
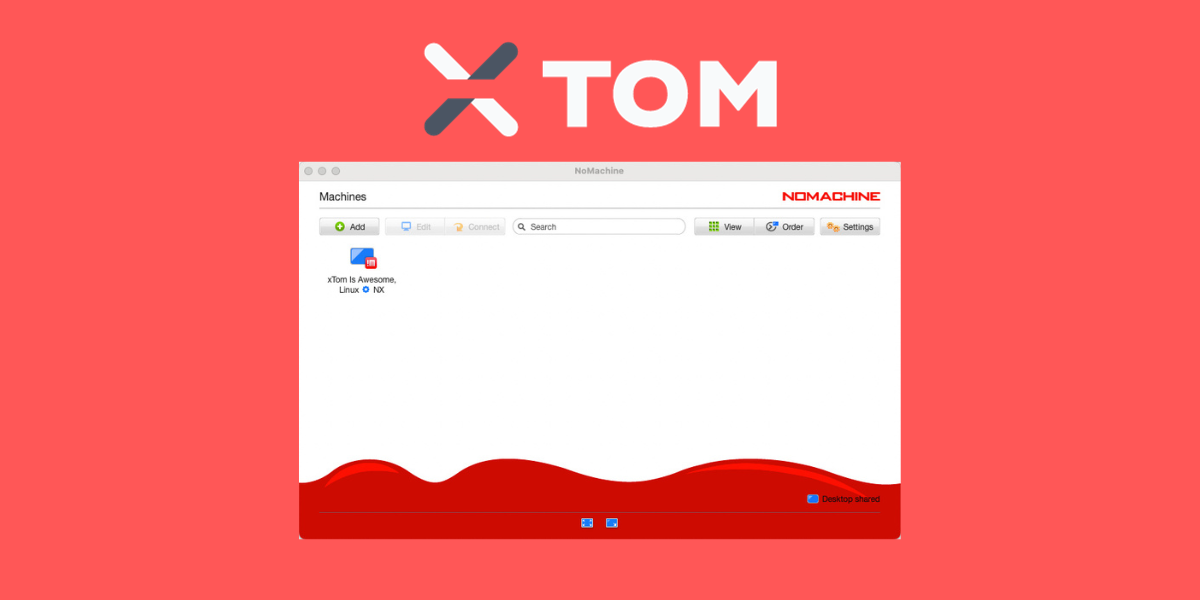
Now you'll see your new remote desktop appear on your clients' dashboard. Click "connect" and proceed to fill out your authentication information:
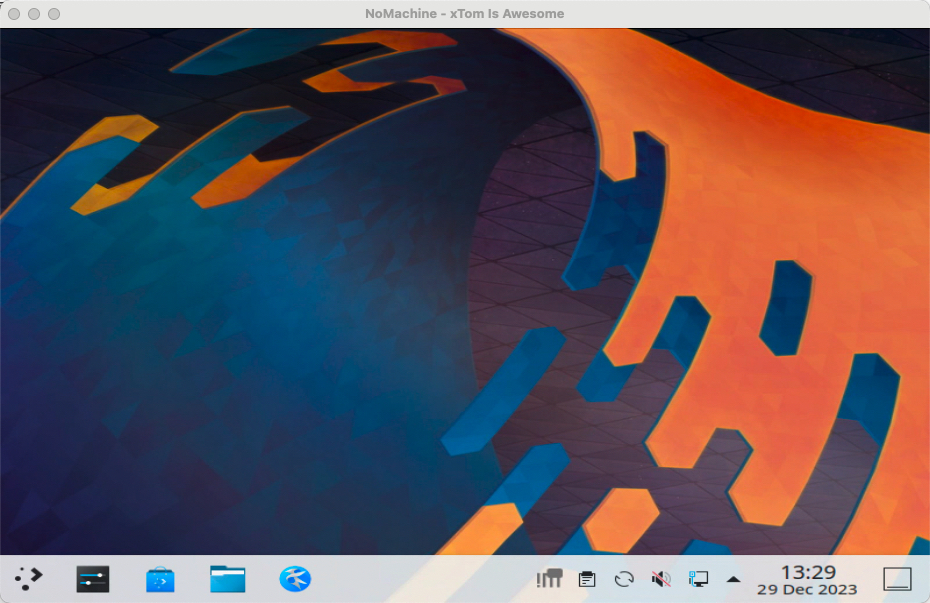
Finally, all of the hard work pays off:
Your brand-new Linux desktop is up and running!
I'm not going to go too deep into securing your new desktop, but I would certainly suggest switching from text-based authentication to an SSH key ASAP. It's an incredibly easy way to improve your security. You'll just need to configure your NoMachine client application to use your SSH key instead for authentication.
Check this out:
That's two E5 cores, 3GB RAM, and 6GB NVMe disk. Good luck optimizing Windows to run on those specifications with the same level of breathing room.
Thanks for reading!
Hopefully, you learned a thing or two.
And as always, if you're ever in need of hosting, anywhere from dedicated to VPS and beyond, xTom would be glad to provide you with reliable infrastructure and service.