How to Set Up Coolify - A Self-Hosted PaaS/Heroku Alternative for Deploying Apps with Ease
Learn how to set up Coolify, an open-source PaaS that simplifies self-hosting for your applications, databases, and services.
Publish date: 10/19/2024
Learn how to set up Coolify, an open-source PaaS that simplifies self-hosting for your applications, databases, and services.
Publish date: 10/19/2024
Coolify is a free and open-source platform designed to simplify the self-hosting process for your applications, databases, and services (like WordPress, Plausible Analytics, Ghost) without the headache of managing servers.
It’s an alternative to platforms like Heroku, Netlify, and Vercel, but with the flexibility of being self-hosted, allowing you to retain control over your data and infrastructure.
In this guide, we’ll walk through how to install Coolify on your server and the benefits it provides to developers and teams. We’ll also cover different hosting options, including VPS, dedicated servers, and even self-hosting at home with a Raspberry Pi.
First things first, though:
Coolify is a PaaS (Platform as a Service), which means it simplifies the deployment and management of applications by abstracting away the underlying server management.
This allows you to focus on building and running your applications without the need to manually configure infrastructure, databases, or SSL certificates.
With Coolify, you get the flexibility of a cloud service but hosted on your own infrastructure.
The main advantages are:
If you’ve ever managed Docker containers, databases, or backups manually, you know how time-consuming it can be. Coolify automates much of this, letting you deploy apps, services, and databases through a web interface.
Here’s why it stands out:
To start using Coolify, you need a server. This could be a VPS, a dedicated server, a Raspberry Pi at home, or really any machine with SSH access.
The right hosting solution for Coolify depends on the scale and complexity of your project.
A dedicated server gives you complete control over all hardware resources, making it a good fit for resource-intensive projects.
If you’re running multiple apps, managing large databases, or dealing with heavy traffic, a dedicated server ensures consistent performance without sharing resources with other users.
Being that we're on xTom's blog right now, I'll take this opportunity to mention that xTom offers high-performance dedicated servers suitable for production environments where uptime and resource availability are critical (as well as colocation, transit, or really anything and everything you'd need to power your digital infrastructure).
A VPS is a cost-effective and flexible solution, offering access to a portion of a server’s resources.
It’s ideal for smaller projects, development environments, or light production workloads where you don’t need the full power of a dedicated server (or microservices, where you split different parts of your workflow/application onto its own respective VPS while still cohesively working together).
Speaking of VPS, though, we offer KVM VPS hosting through our V.PS brand, which is perfect for Coolify. It’s a great balance between affordability, scalability, and control.
For smaller personal projects or learning, you can even host Coolify at home using a Raspberry Pi.
This is a low-cost option for developers who want to experiment or run lightweight apps, but it’s not ideal for production environments due to performance and security limitations.
One downside of hosting from home is the need to expose your network to the public, which comes with security risks. However, you can mitigate this by using Cloudflare Tunnels to securely expose your services without directly exposing your home network.
Here are the minimum requirements you’ll need to install Coolify on your server:
(Note: Our "Pro" plan on V.PS covers all of this and more for just €9.95 monthly. I usually go with Debian or Ubuntu.)
If you plan to run multiple apps or databases, consider allocating more resources to ensure a smooth experience.
Coolify’s installation process is designed to be straightforward.
Here’s how to set it up:
Use SSH to connect to your server.
For example:
ssh root@<your-server-ip>
Install Coolify by running the following command:
curl -fsSL https://cdn.coollabs.io/coolify/install.sh | bash
This script will install Coolify along with Docker, which Coolify uses to run and manage apps.
Once installed, you can access Coolify’s web interface via your server’s IP address on port 8000:
http://<your-server-ip>:8000
On first page load, it'll ask you to create the admin account.
Then after that, you can either select that you want to deploy resources on localhost, or to a remote server. For the majority, this will be localhost (the same server your installing Coolify on). Remote servers are for complex infrastructures with apps running on separate servers.
Once Coolify is installed and configured, deploying apps is simple.
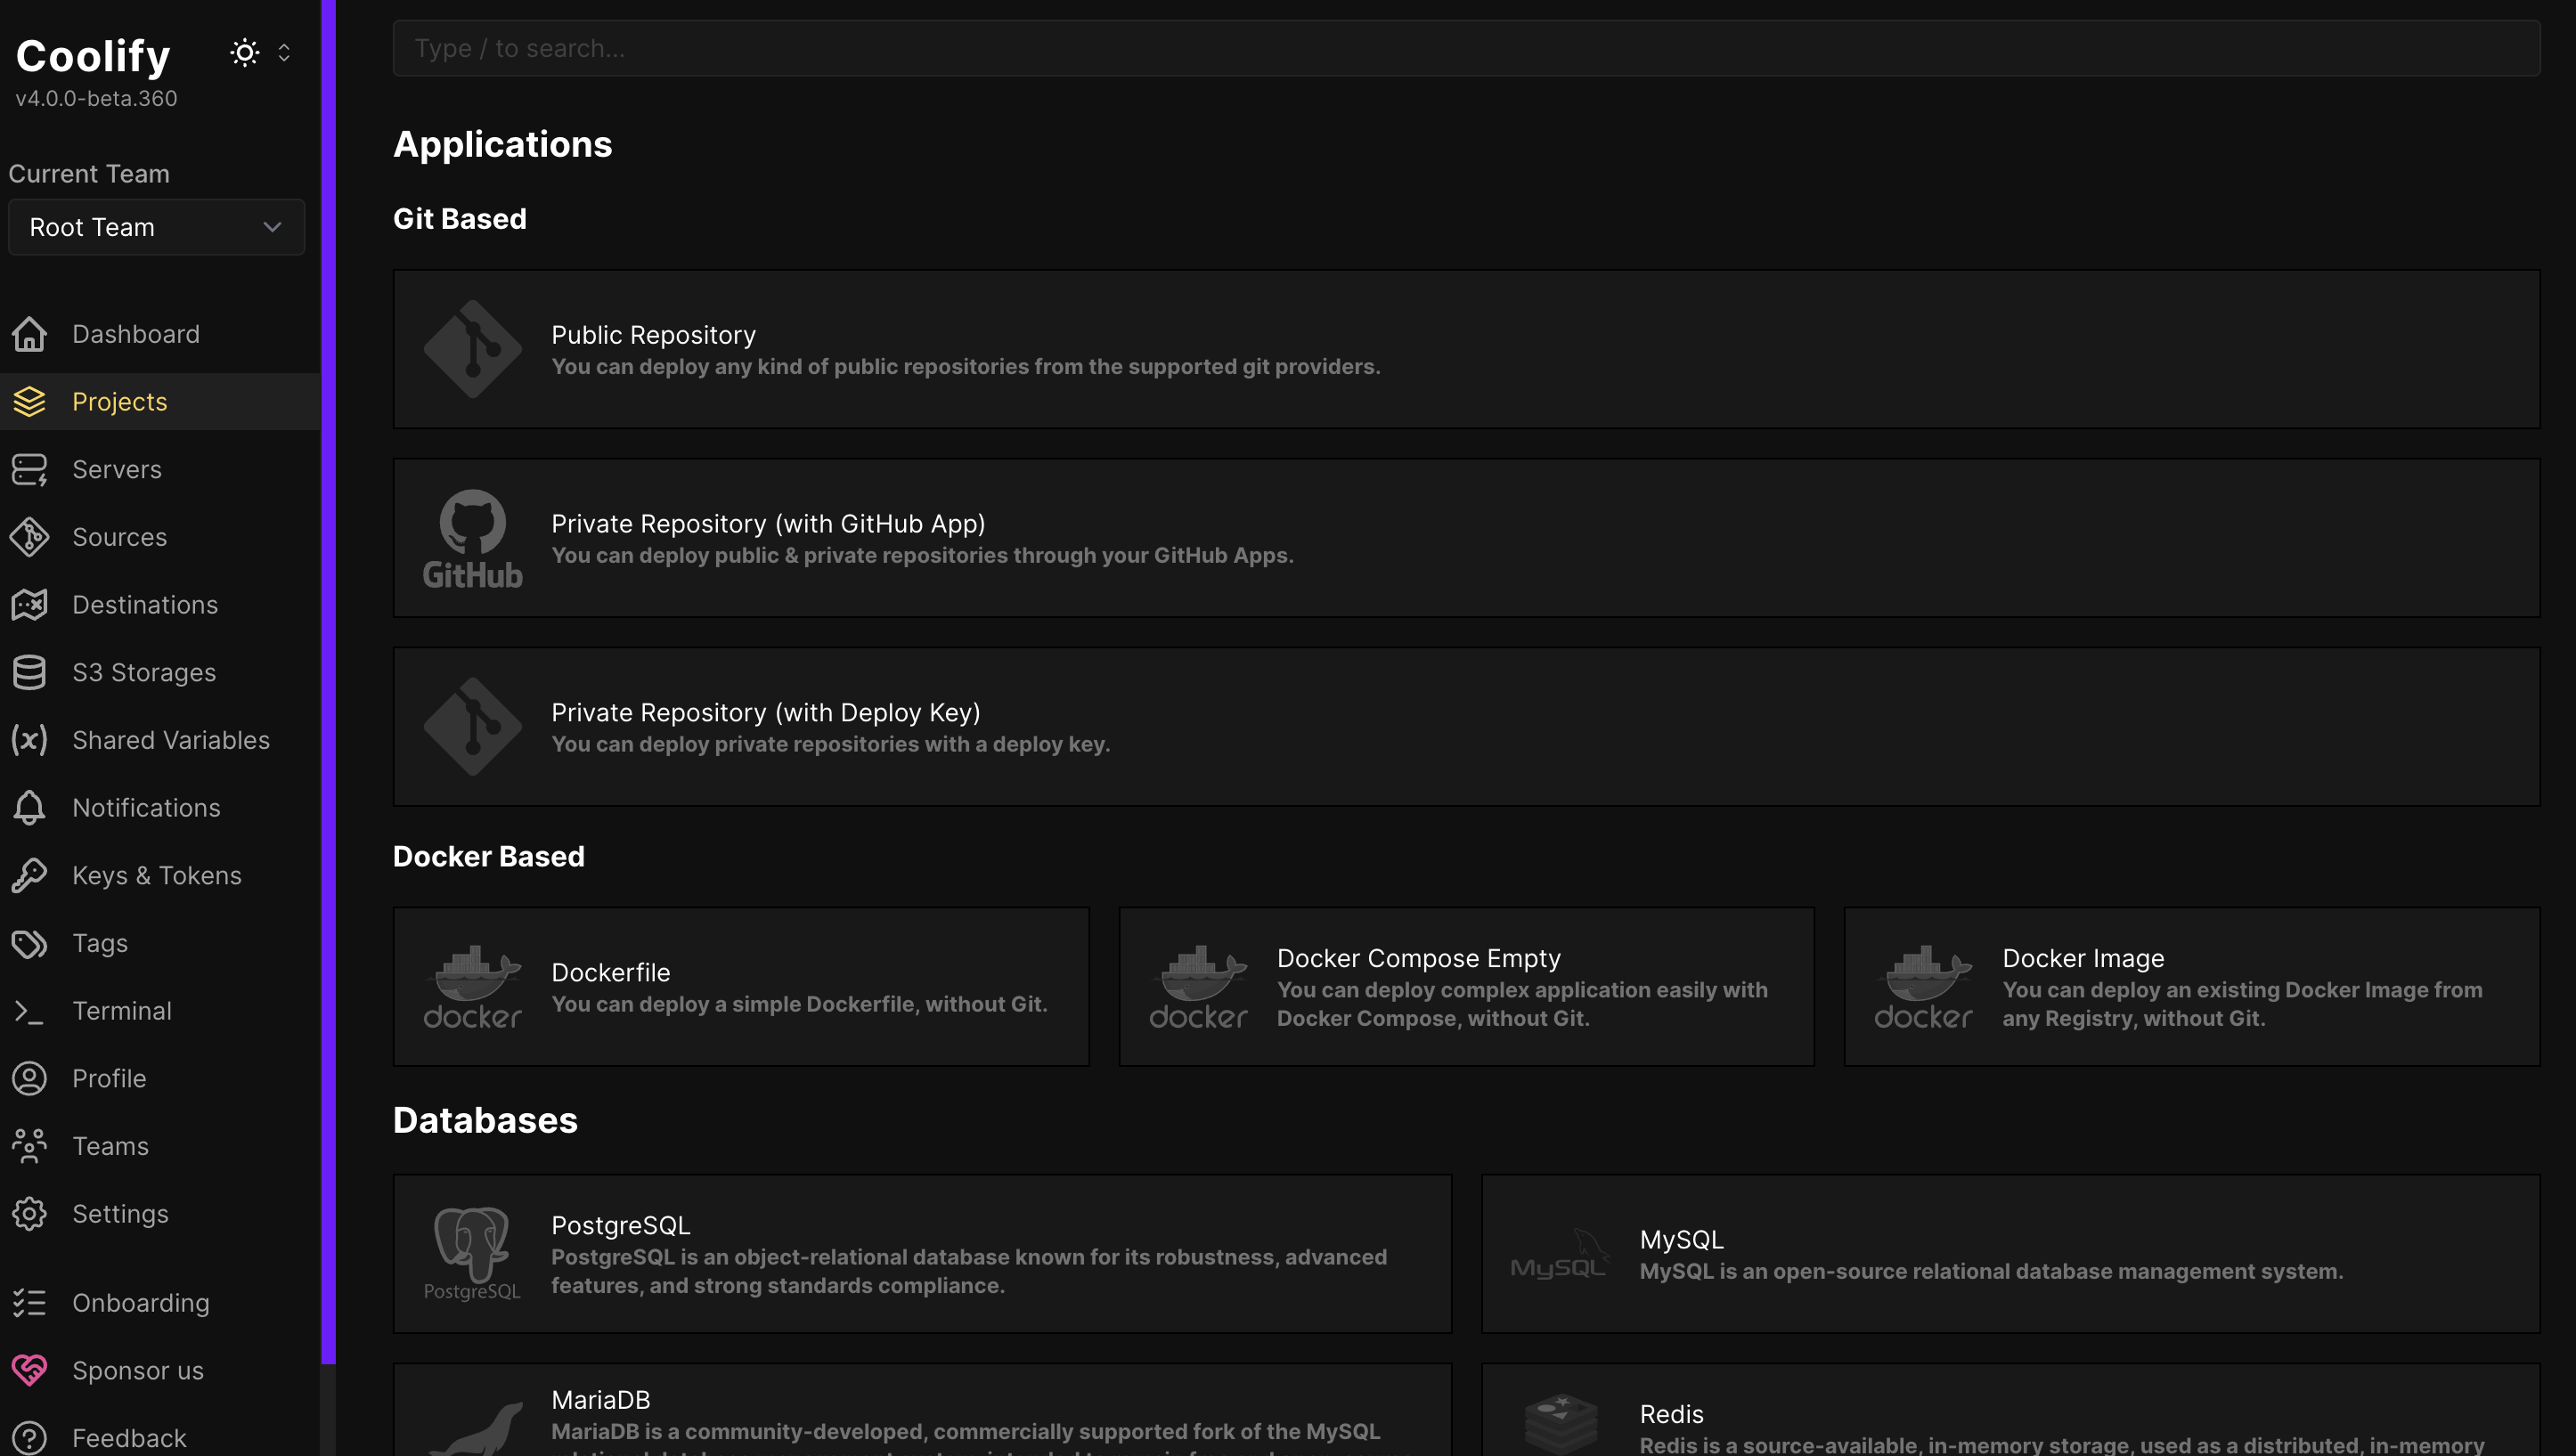
You can deploy practically anything you'd like, including:
Coolify handles the setup of Docker containers, databases, and web services behind the scenes, freeing you from manual configurations.
If you’re looking for full control over your infrastructure with the ease of a PaaS, Coolify offers a flexible, open-source, and free solution.
With features like automatic SSL, Git-based deployments, database backups, and more, it’s an excellent alternative to managed platforms like Heroku and Vercel, especially if you prefer to keep everything under your control.
Whether you’re working on a small development project, running a personal site, or managing multiple production apps, Coolify gives you the flexibility to deploy anywhere—from a VPS or dedicated server to a Raspberry Pi at home.
Give it a try! After all, it's free and if you hate it, you can just go back to what you know and love ;-).